APP guide
Welcome to the APP guide. Search in the menu on the right or by typing in the search box. If you do not find what you need, please contact us. Contact us.
1.11 Interventions with maps
The map option can be activated through the settings,options in the “geolocalisation” section.
In the web application, the “Map” section is visible by going to the interventions scheduling screen.
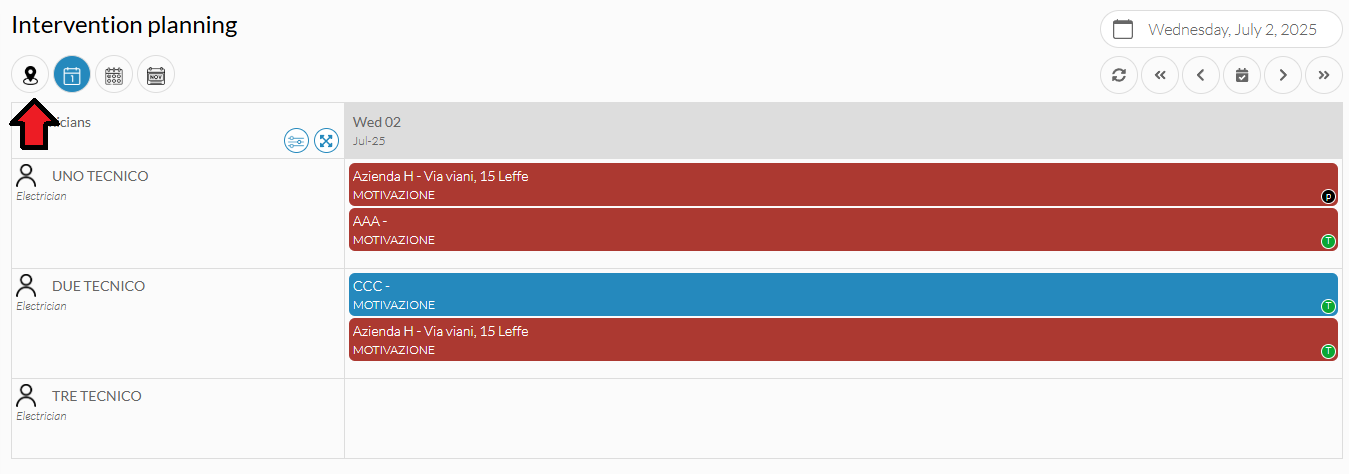
Once clicked, the page will be displayed showing a map and details on the right-hand side:
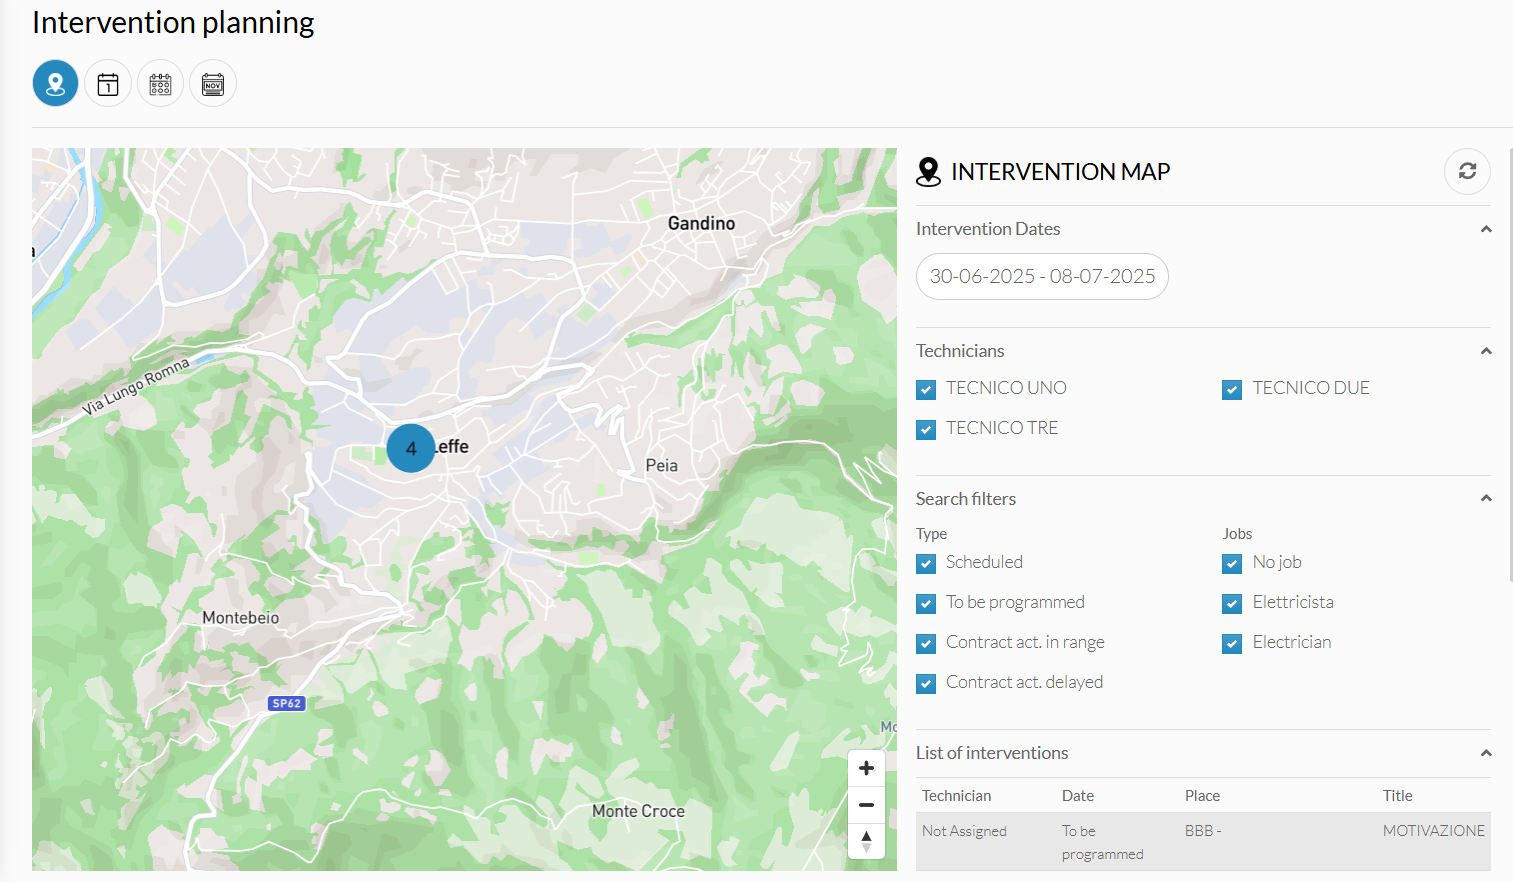
This section is needed to optimise one’s interventions, as it is possible to view the various areas in which interventions can take place and the number of interventions in a given area. Using the filters, it is also possible to identify specific interventions, by technician, by type, by date…
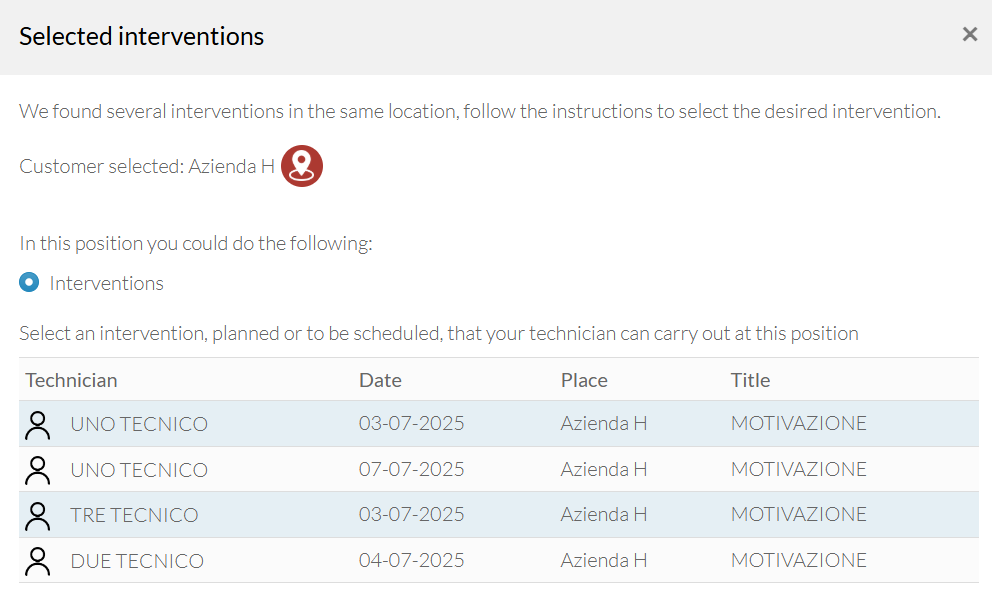
By clicking on the various points where there are interventions, thanks to the number shown on the map, it is possible to view all the interventions in that area.
By clicking on a specific intervention you can open its detail and send it to the technician.
Via the options in the settings, it is also possible to record the start and end position for the technician. When the technician enters an intervention, a button will be displayed which, when clicked and confirmed, will give the opportunity to “register the start of the job”.
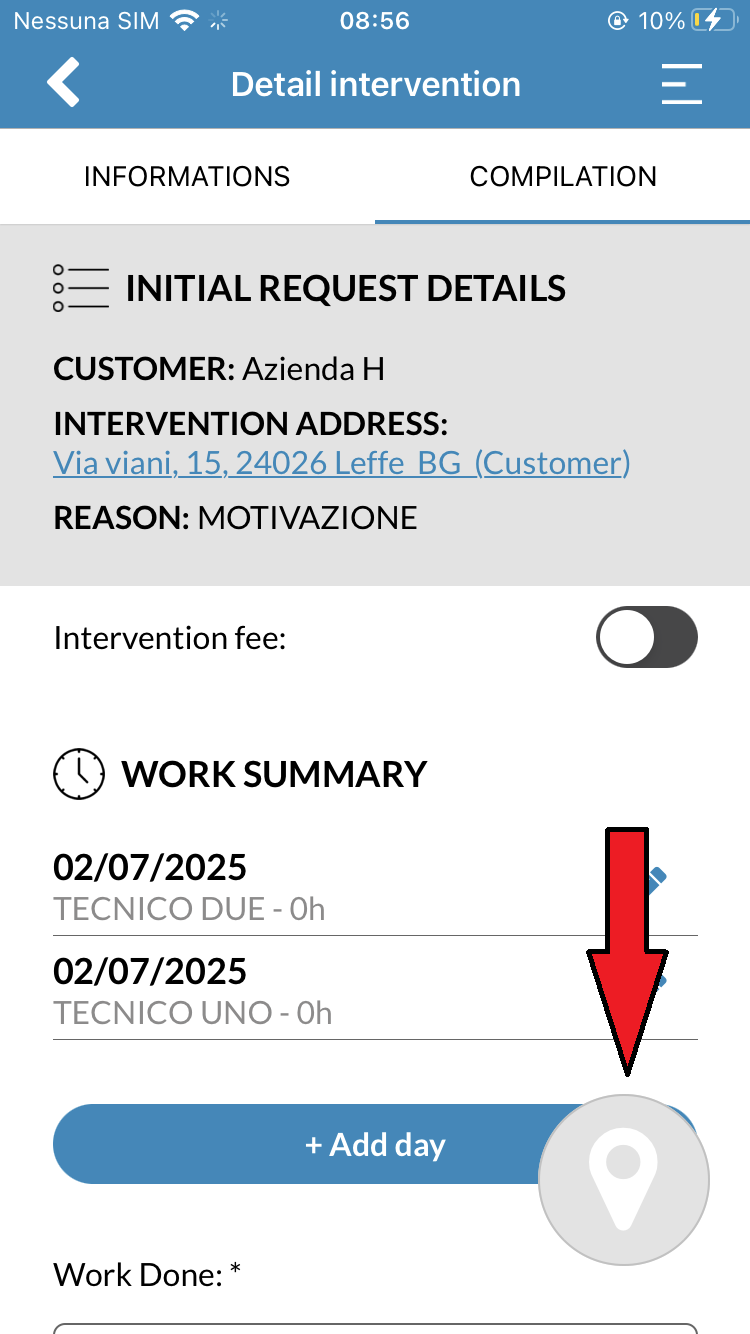
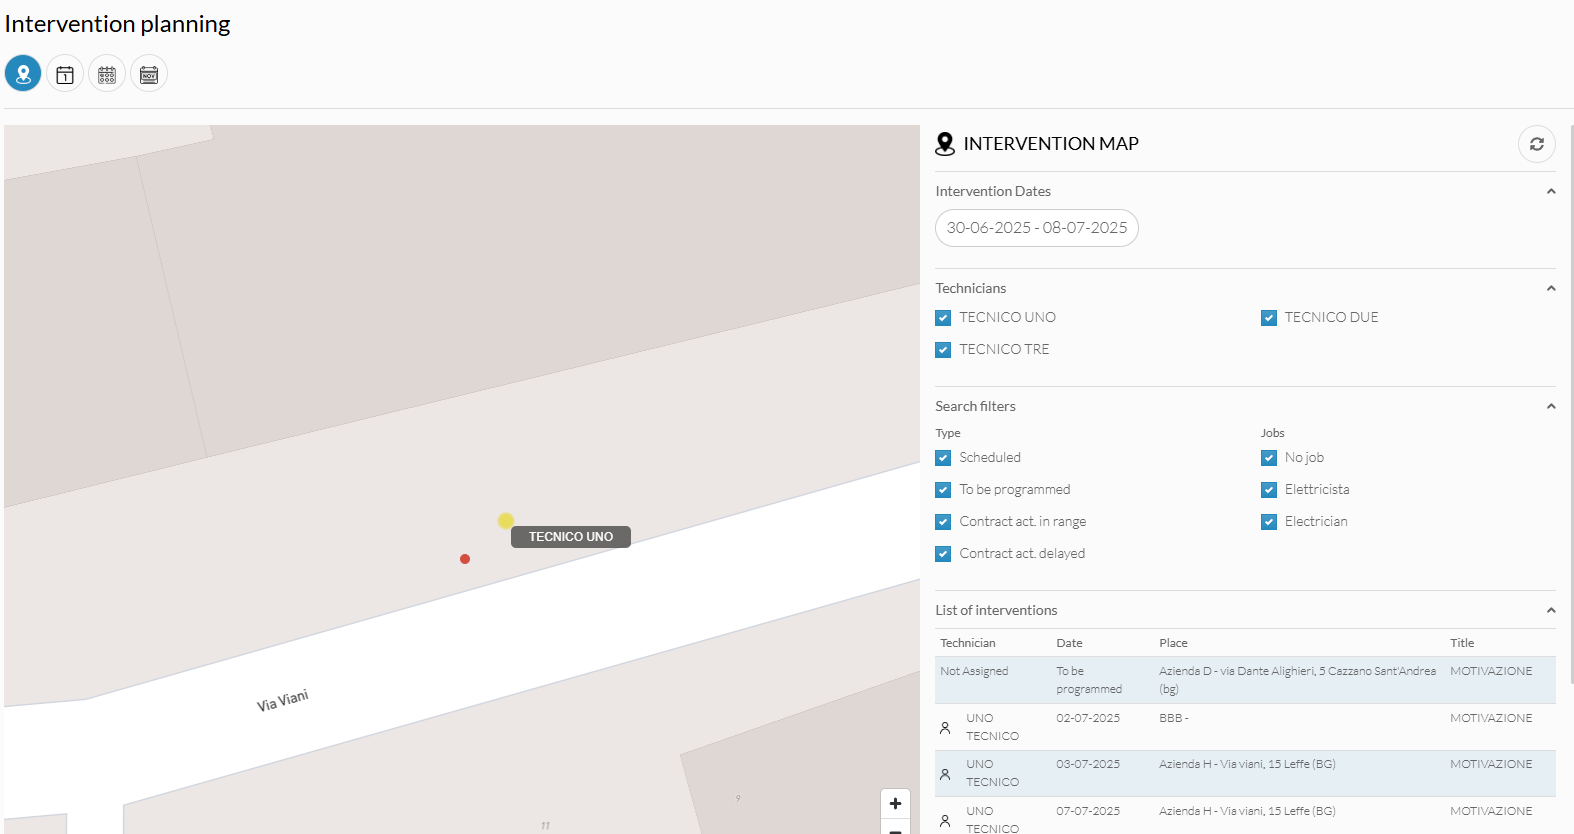
When clicked, the technician will appear on the map with a red dot, which will show the position in the customer’s master data from which he/she is carrying out the intervention.
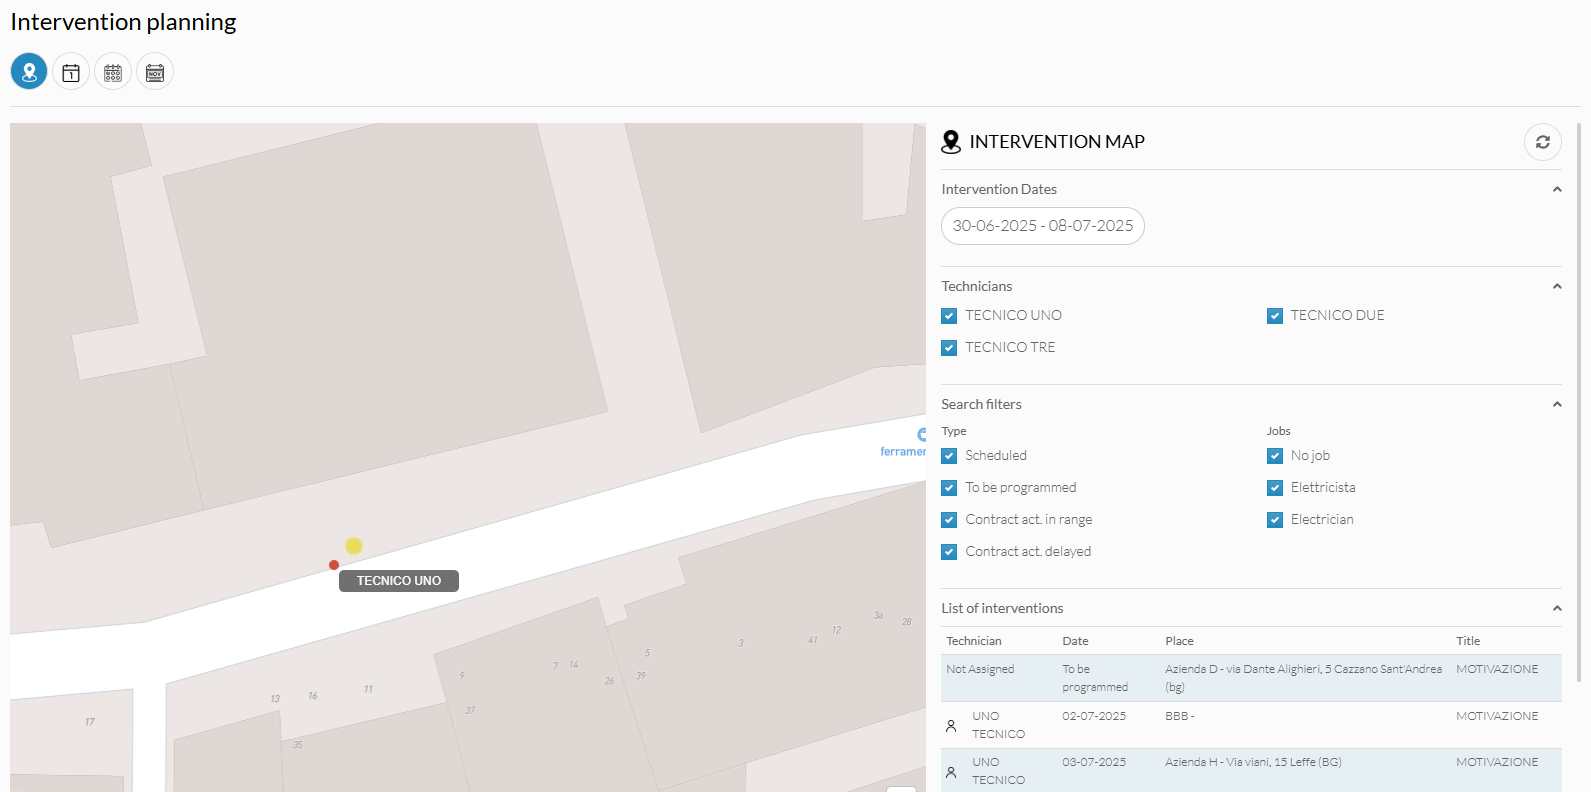
Once the intervention has been completed, the end of the activity will be automatically recorded and the technician will be shown with a yellow dot at the position in the master data from which he/she has just finished the intervention.
In the settings it is possible to change the “Validity minutes of the last recorded position”, using this function, if the technician does not close the intervention and does not overwrite a new position, after the indicated minutes his/her position will no longer be displayed on the map.